MAG OptiAI

LogiAI Quickstart

CVRP Routing visual quickstart

Move from route scenario setup to a solved routing plan, then review route KPIs, map output, and route-by-route details.

Visual walkthrough

Follow the workflow step by step, using the screenshots where available and the concise action notes throughout.

Before you start

Check stop ids, coordinates, demand, and any time-window fields before running.
Decide whether you are validating with a starter sample or a live routing scenario.

Step 1

Open the workspace

Start in the CVRP workspace and review the full routing flow before staging inputs.
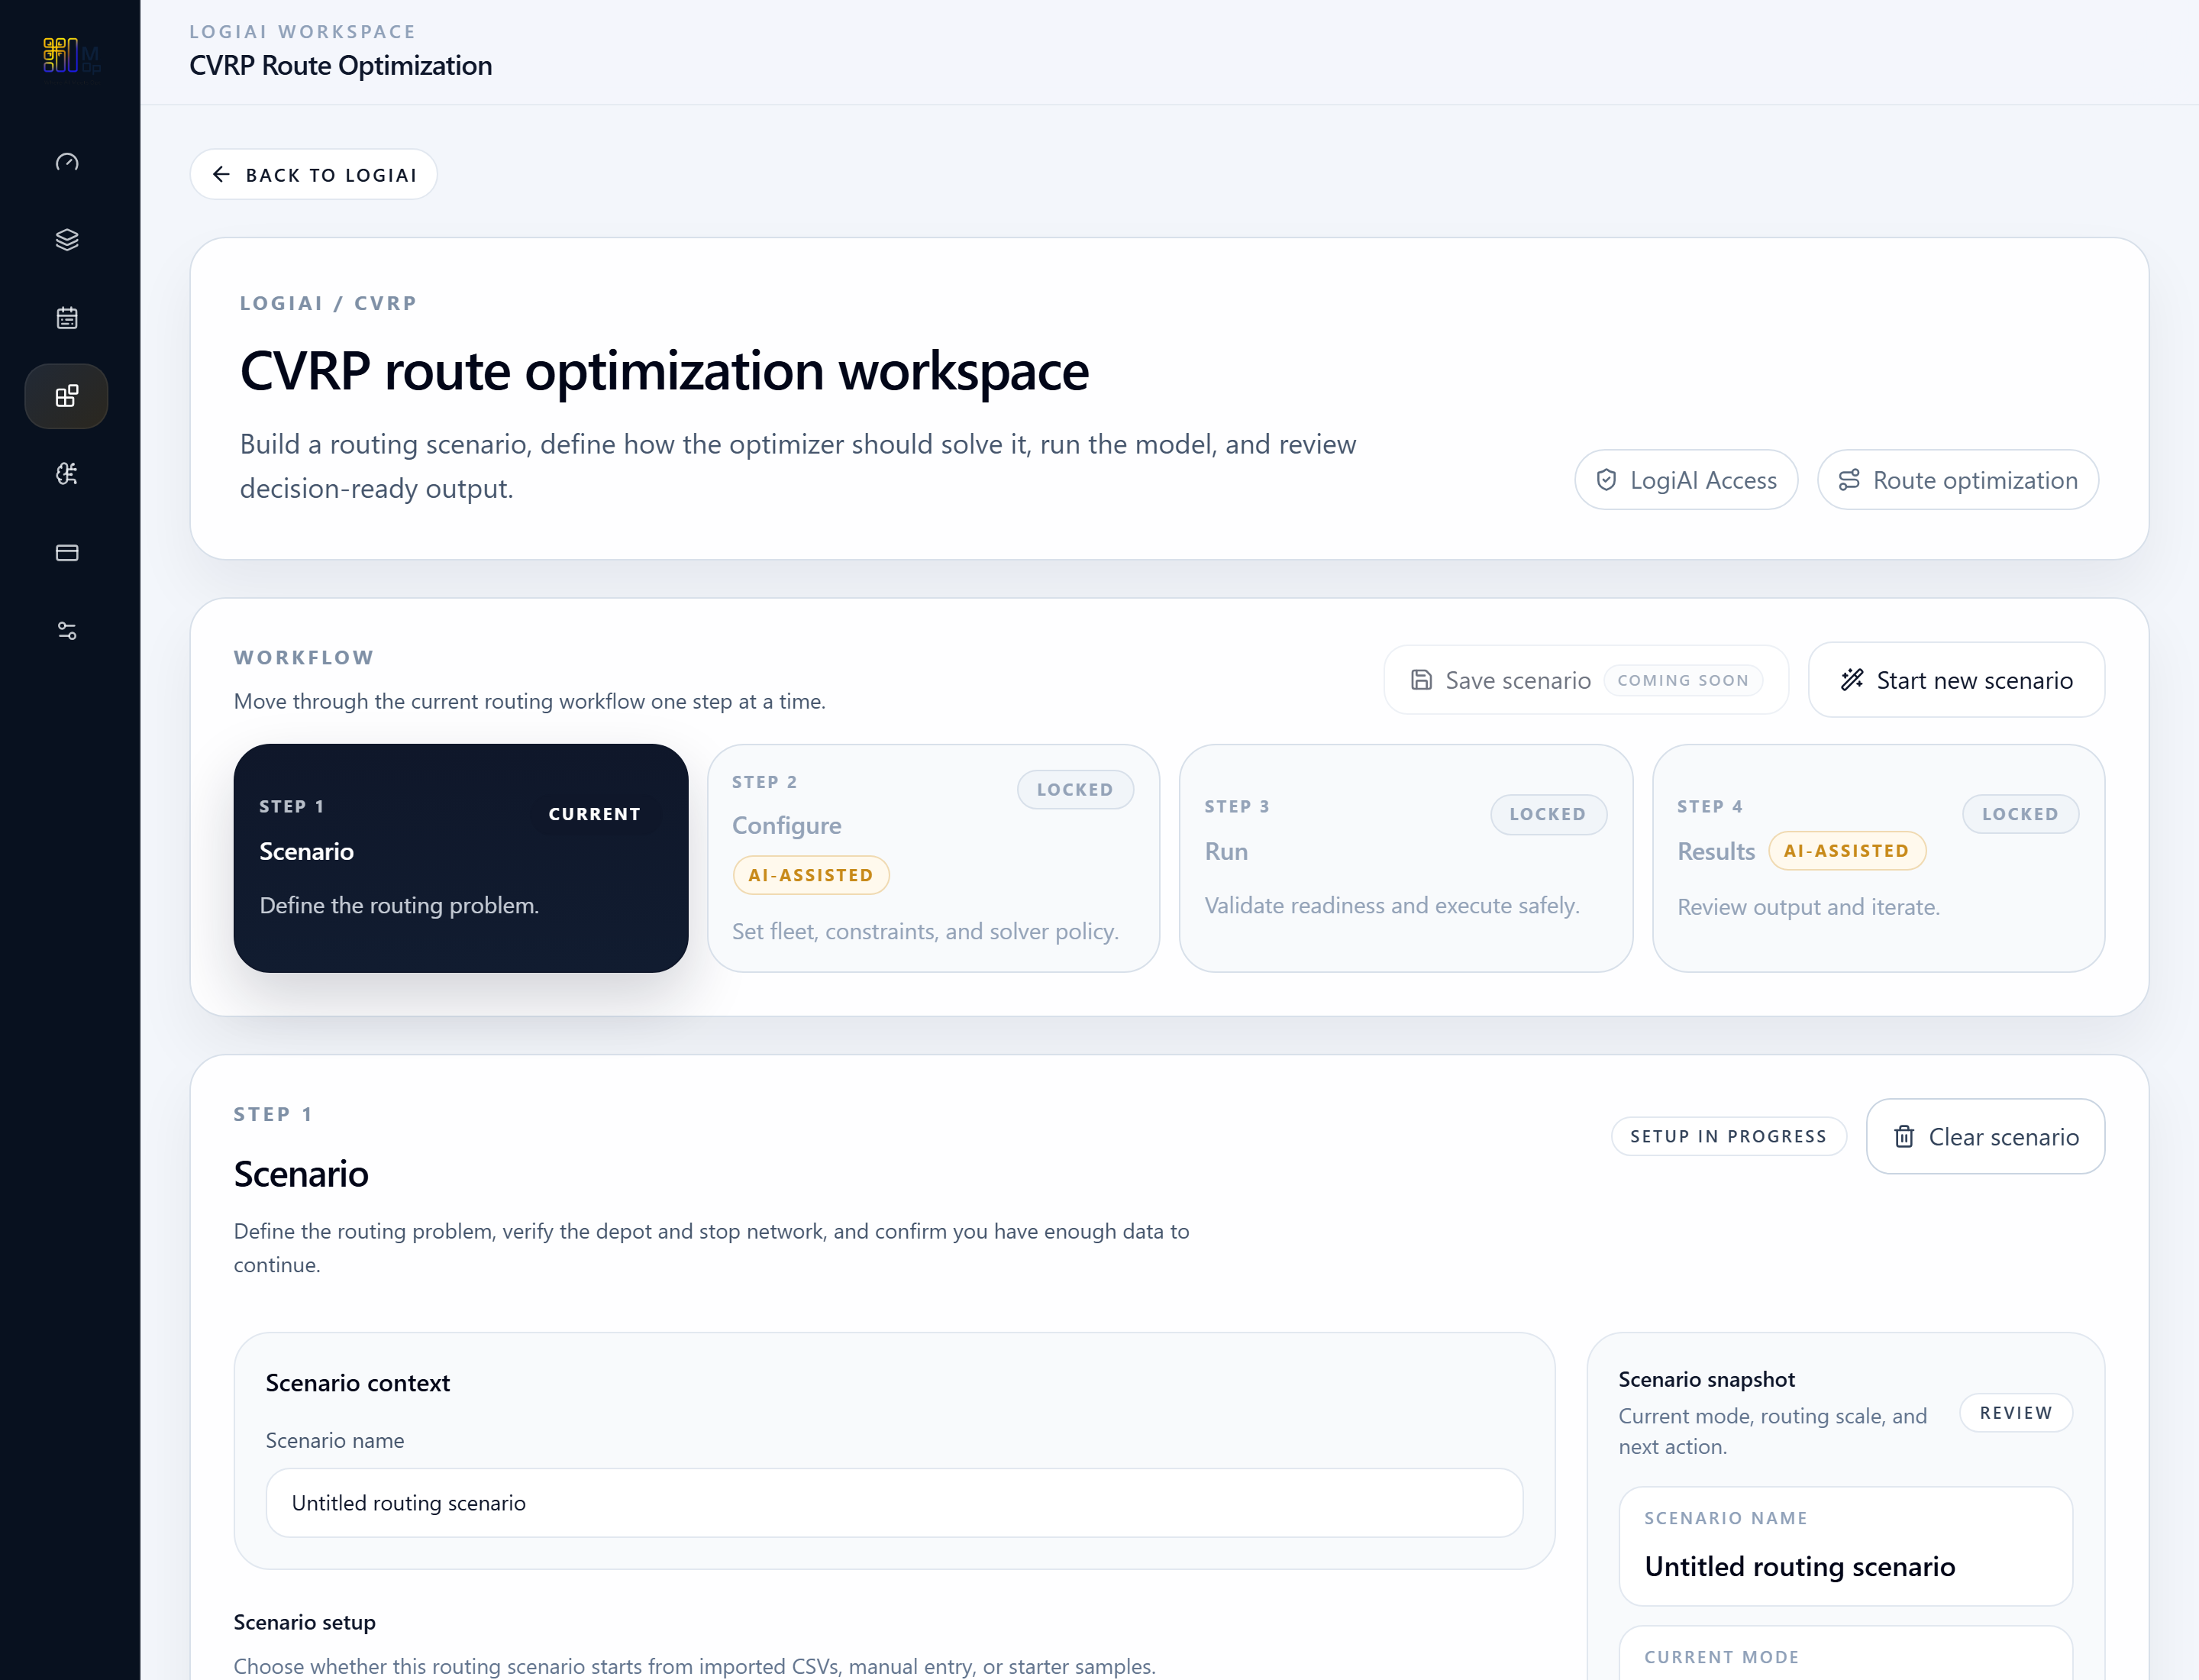
LogiAI CVRP workspace overview with routing workflow steps.
The CVRP workspace organizes scenario setup, solver configuration, execution, and result review in one guided shell.

Step 2

Stage the routing network

Import a routing CSV, edit the scenario manually, or load a starter sample network.
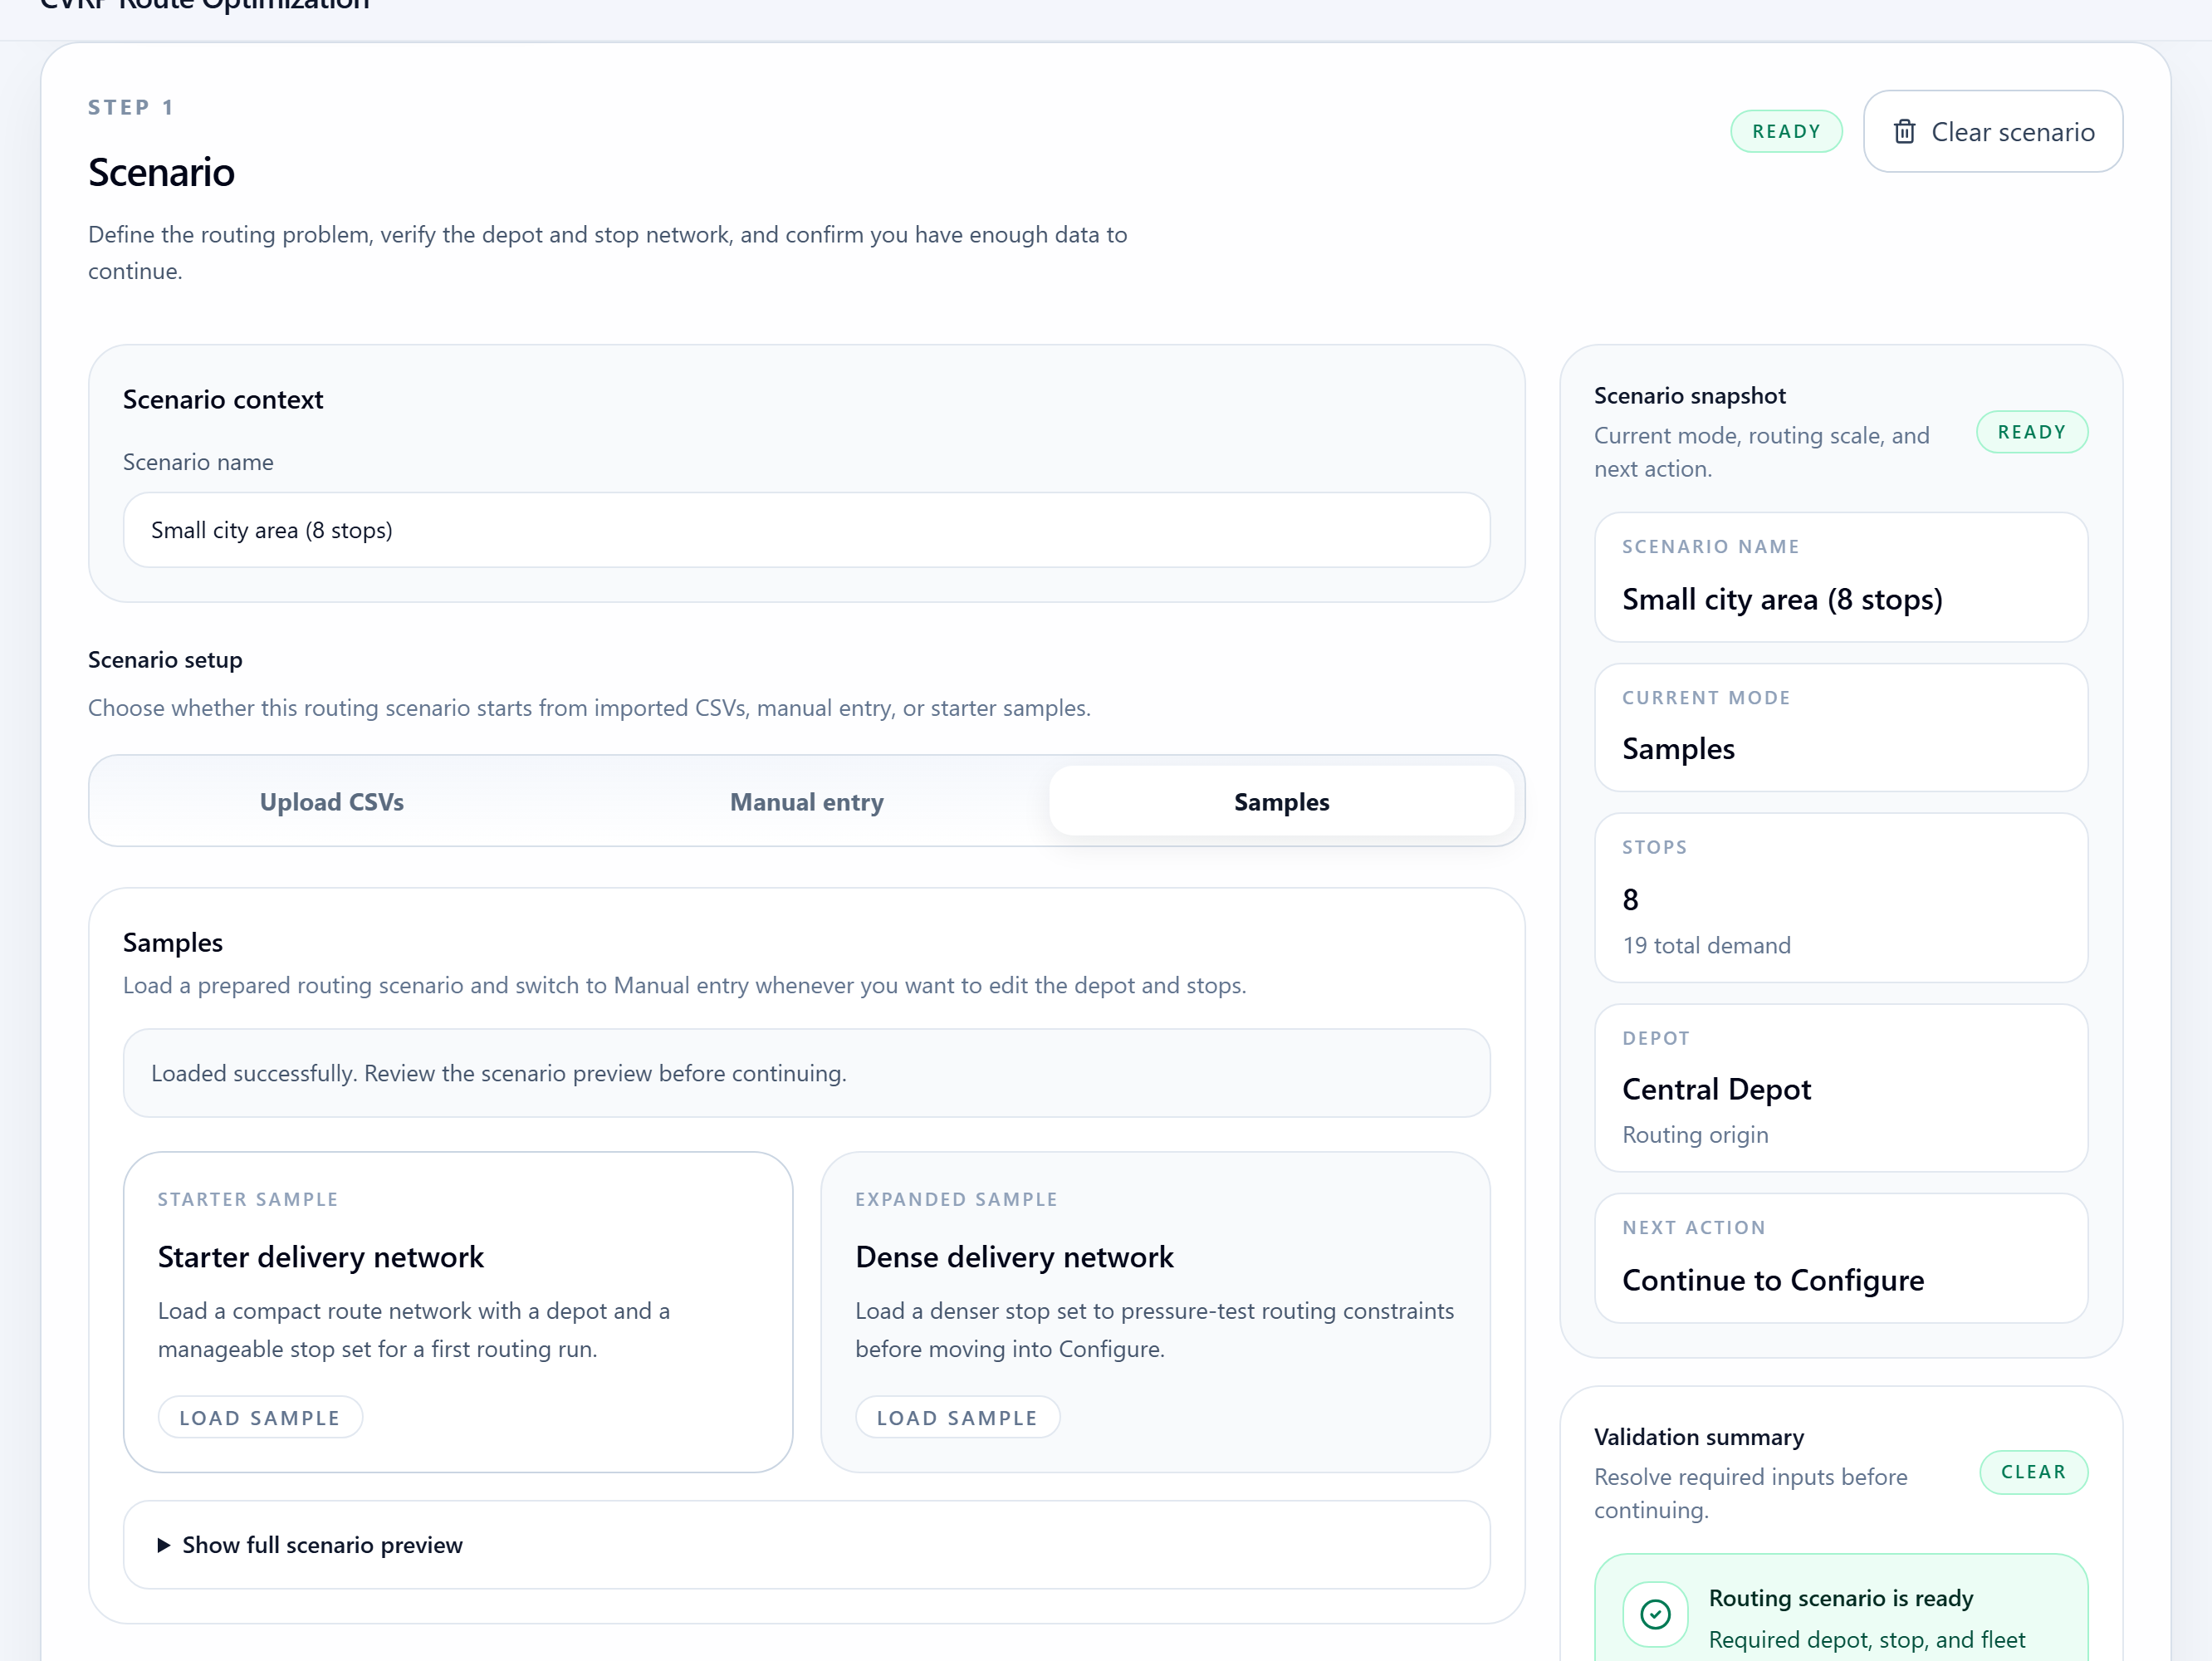
LogiAI CVRP scenario setup with routing CSV import and sample options.
Users can import the routing CSV, edit the network manually, or begin from a starter sample.

Step 3

Set fleet and solver policy

Review the fleet and objective settings that will shape the route plan.
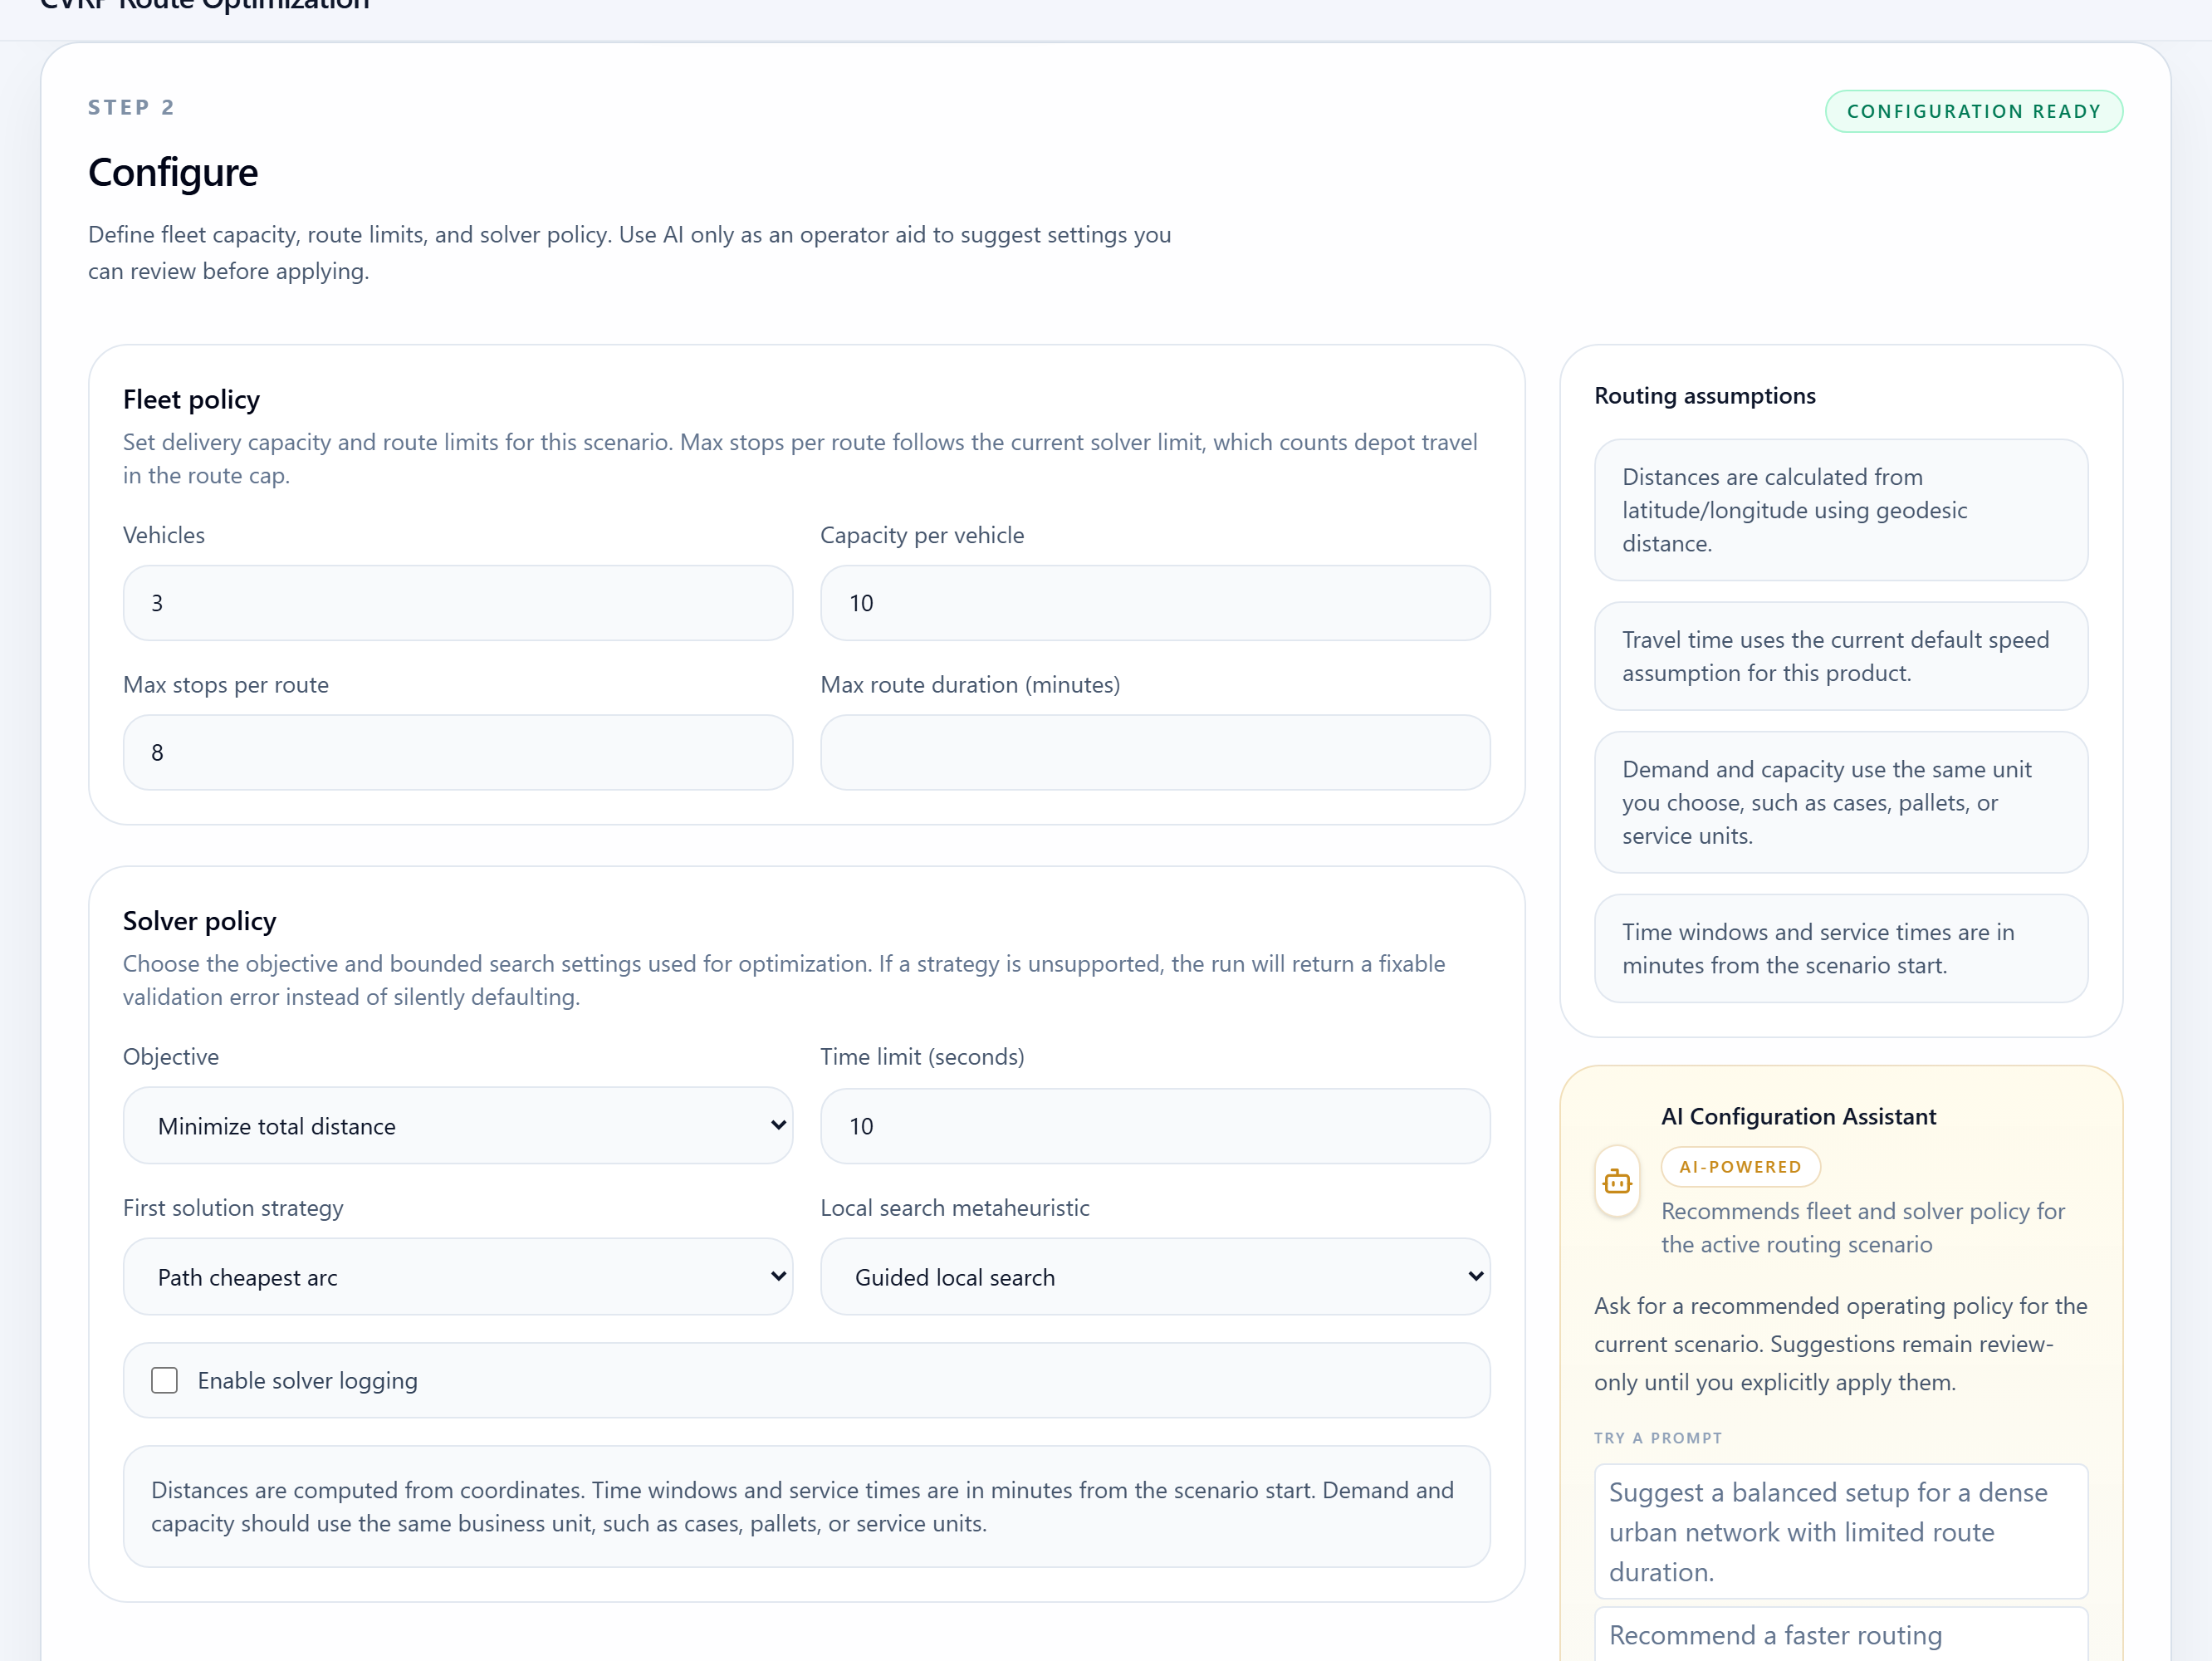
LogiAI CVRP configuration step with fleet, objective, and solver controls.
The configuration step exposes the fleet and solver choices that shape the final route plan.

Step 4

Run optimization

Launch the optimizer once the scenario and configuration both validate cleanly.
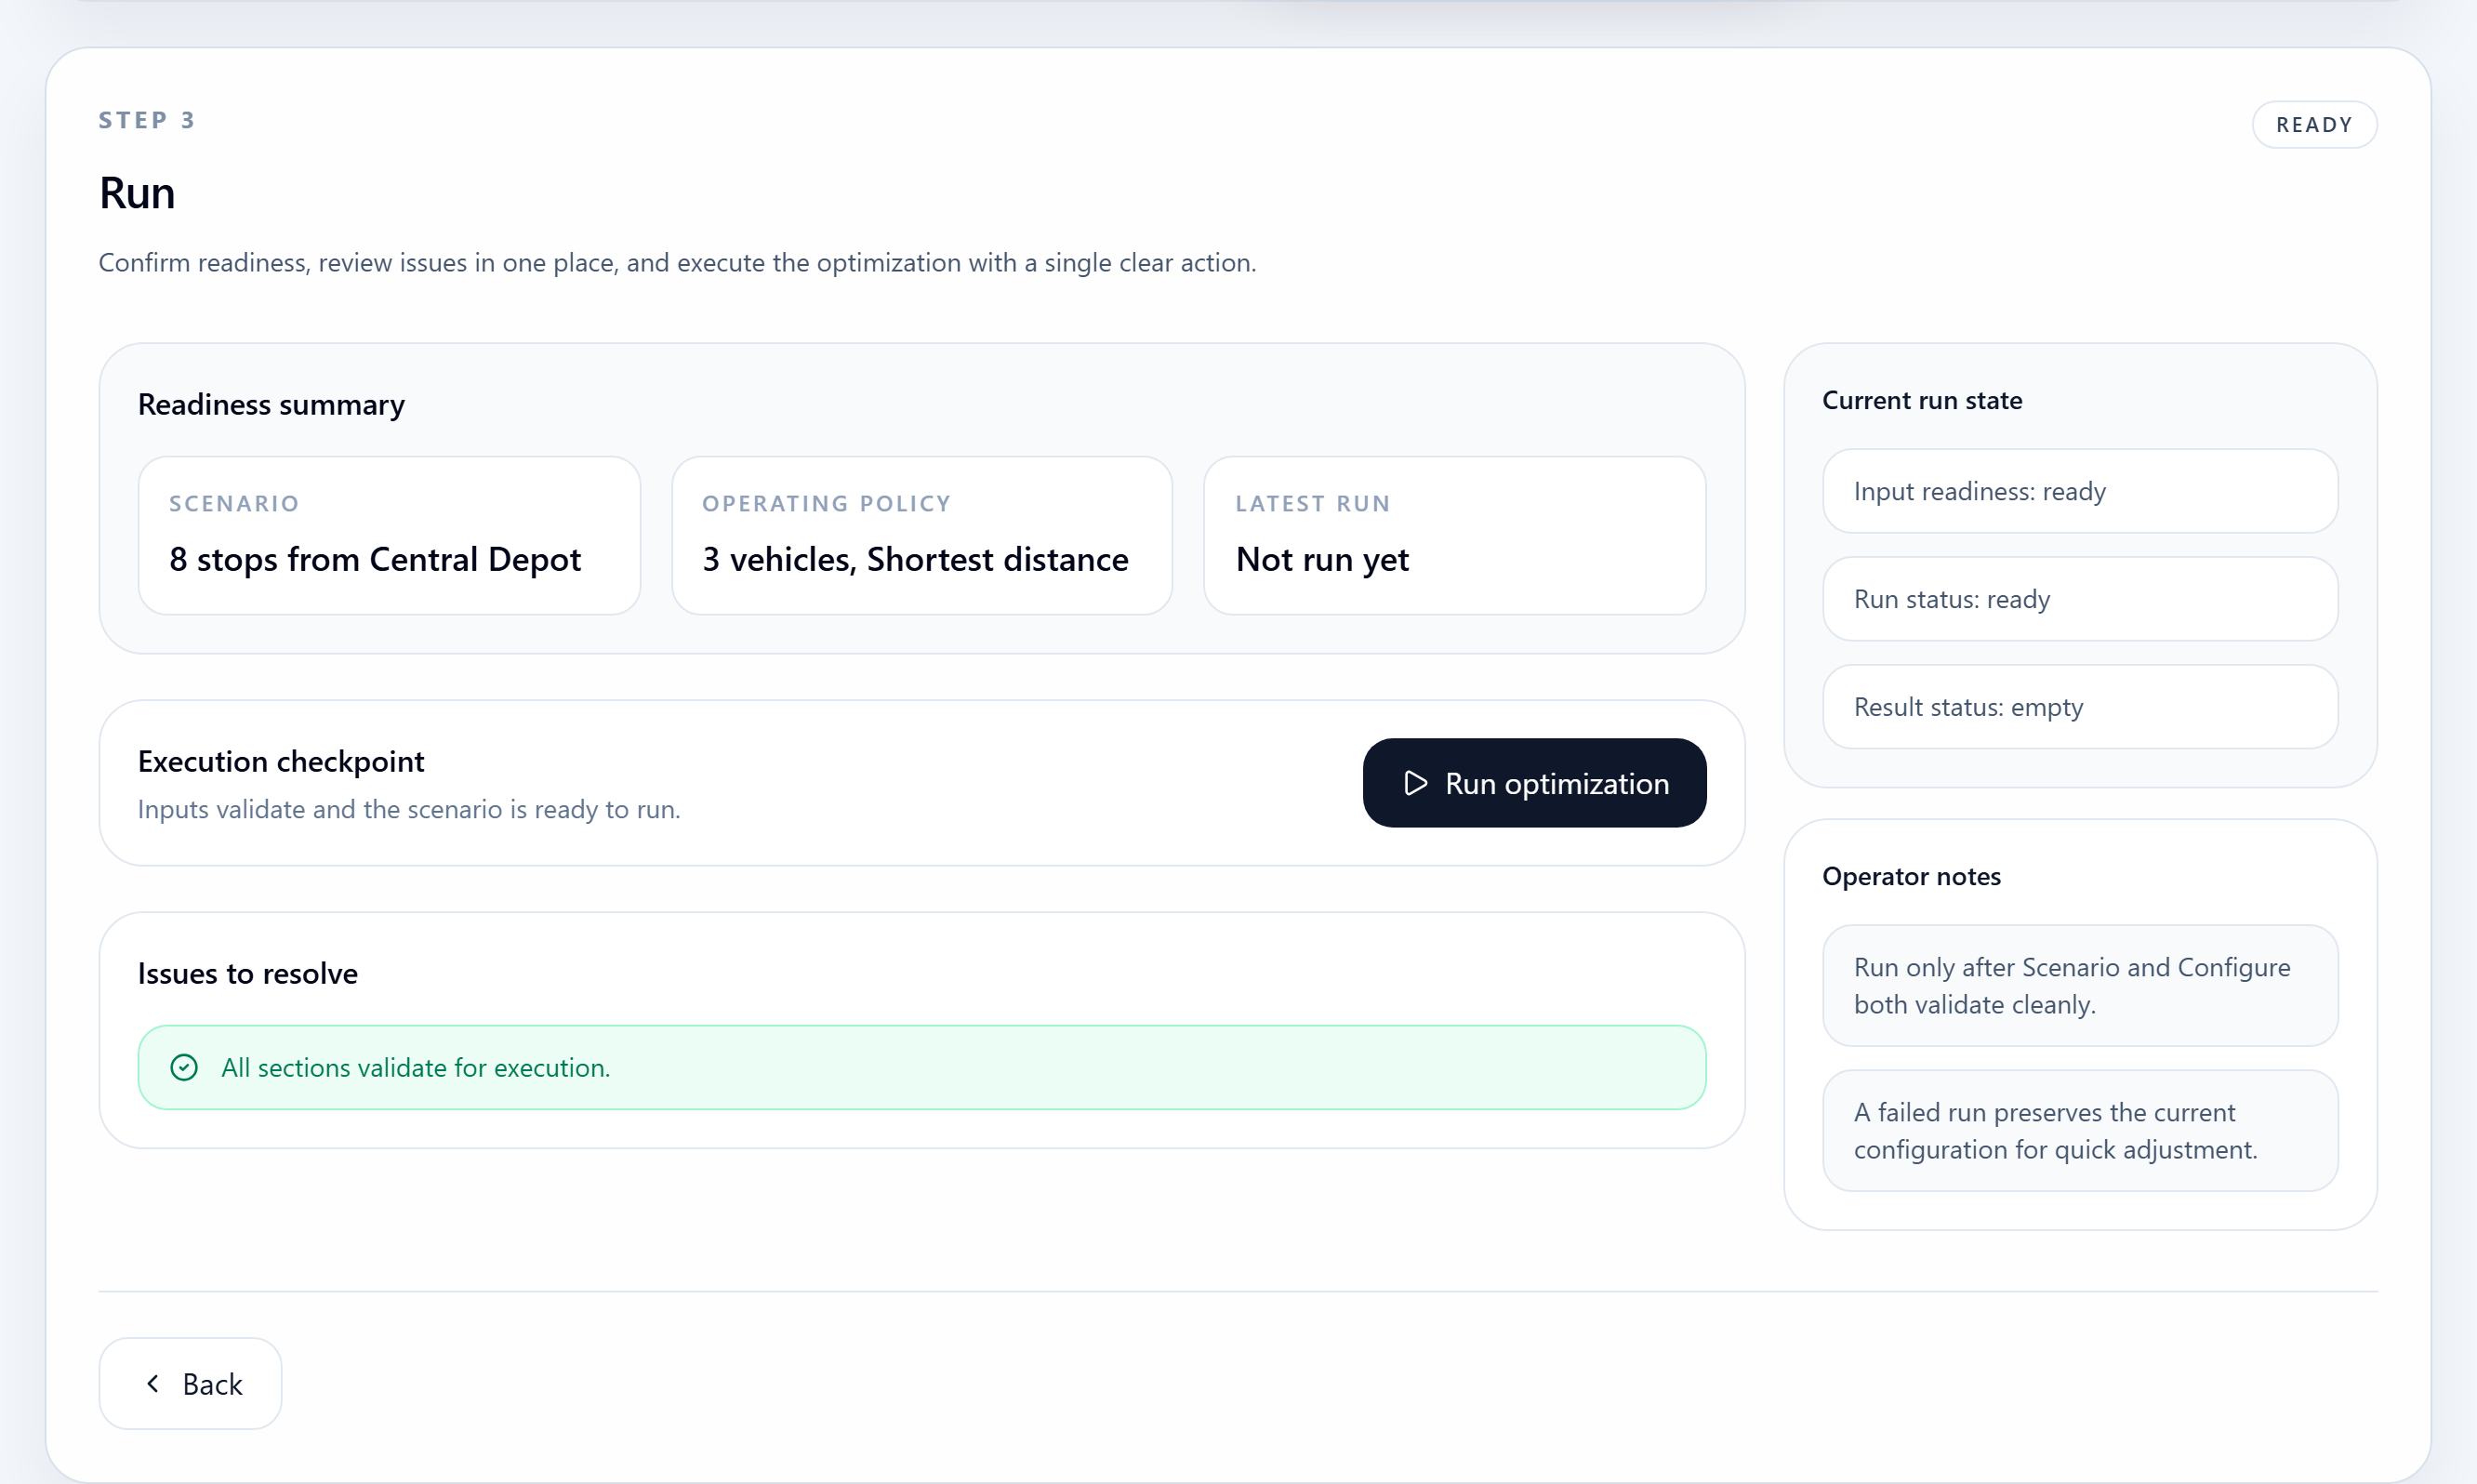
LogiAI CVRP run step with readiness status and optimization action.
The run step launches optimization only after the current routing network and configuration are valid.

Step 5

Review routes and map output

Inspect KPIs, the route map, and route-by-route details before exporting or iterating.
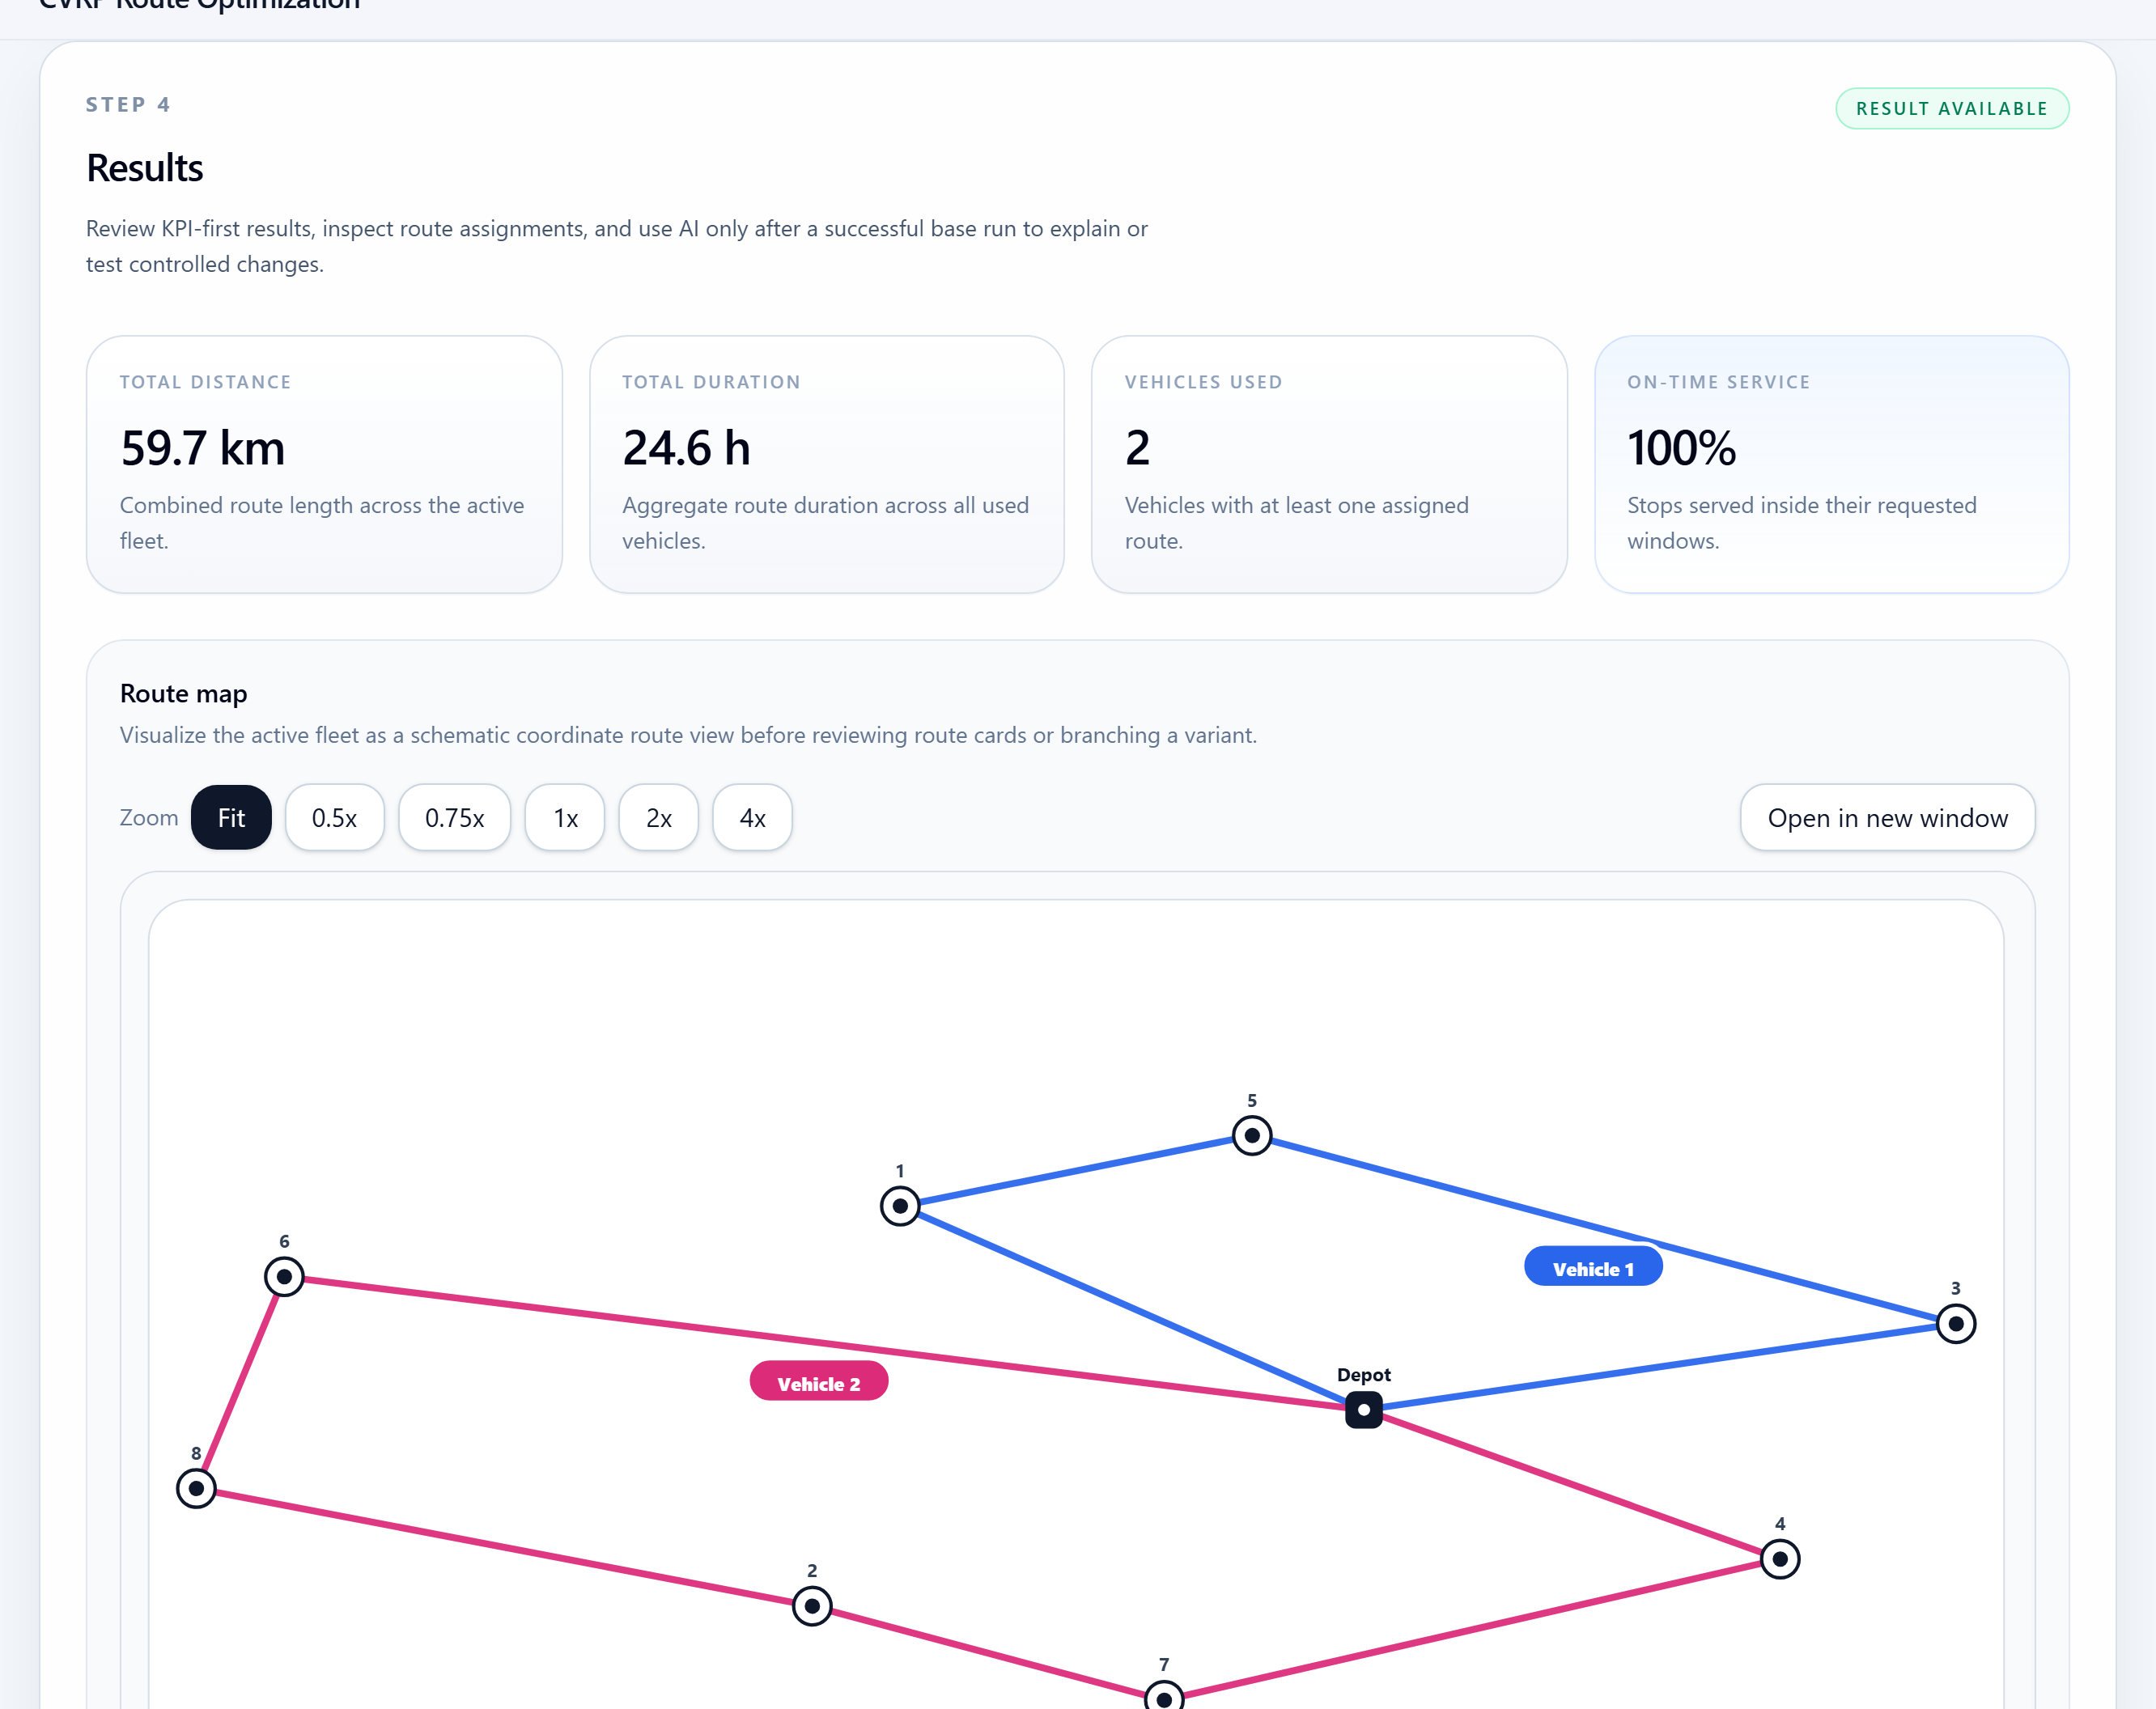
LogiAI CVRP results with KPI summary and route map output.
Results combine KPI review, mapped routes, route cards, and AI-assisted review tools.

Expected outputs

Route KPIs such as vehicles used, stops served, and distance/runtime summary
Mapped route output
Route-by-route assignment details and exportable results

Common mistakes

Using duplicate stop ids or invalid coordinates
Treating fleet settings as CSV fields instead of workspace configuration
Reviewing a stale route plan after editing the scenario or fleet policy

Next steps

Move from walkthrough to the right working page

Open the live workspace when you are ready to execute, or use the related product, use case, and spec pages when you need more context first.

Open workspace

Move straight into the live Pro Console workspace.

Product page

Review the product overview and launch positioning.

Input spec

Confirm the required data shape before upload.

Use case

See where this workflow fits operationally.

Pricing

Check plan and rollout options.

Navigate

Keep this quickstart connected to the resource library

Return to the quickstart index for another product walkthrough, or go back to the resource hub for use cases, input specs, and how-to guides.