1
Step 1
Open the right workspace
Project workflowProduct users
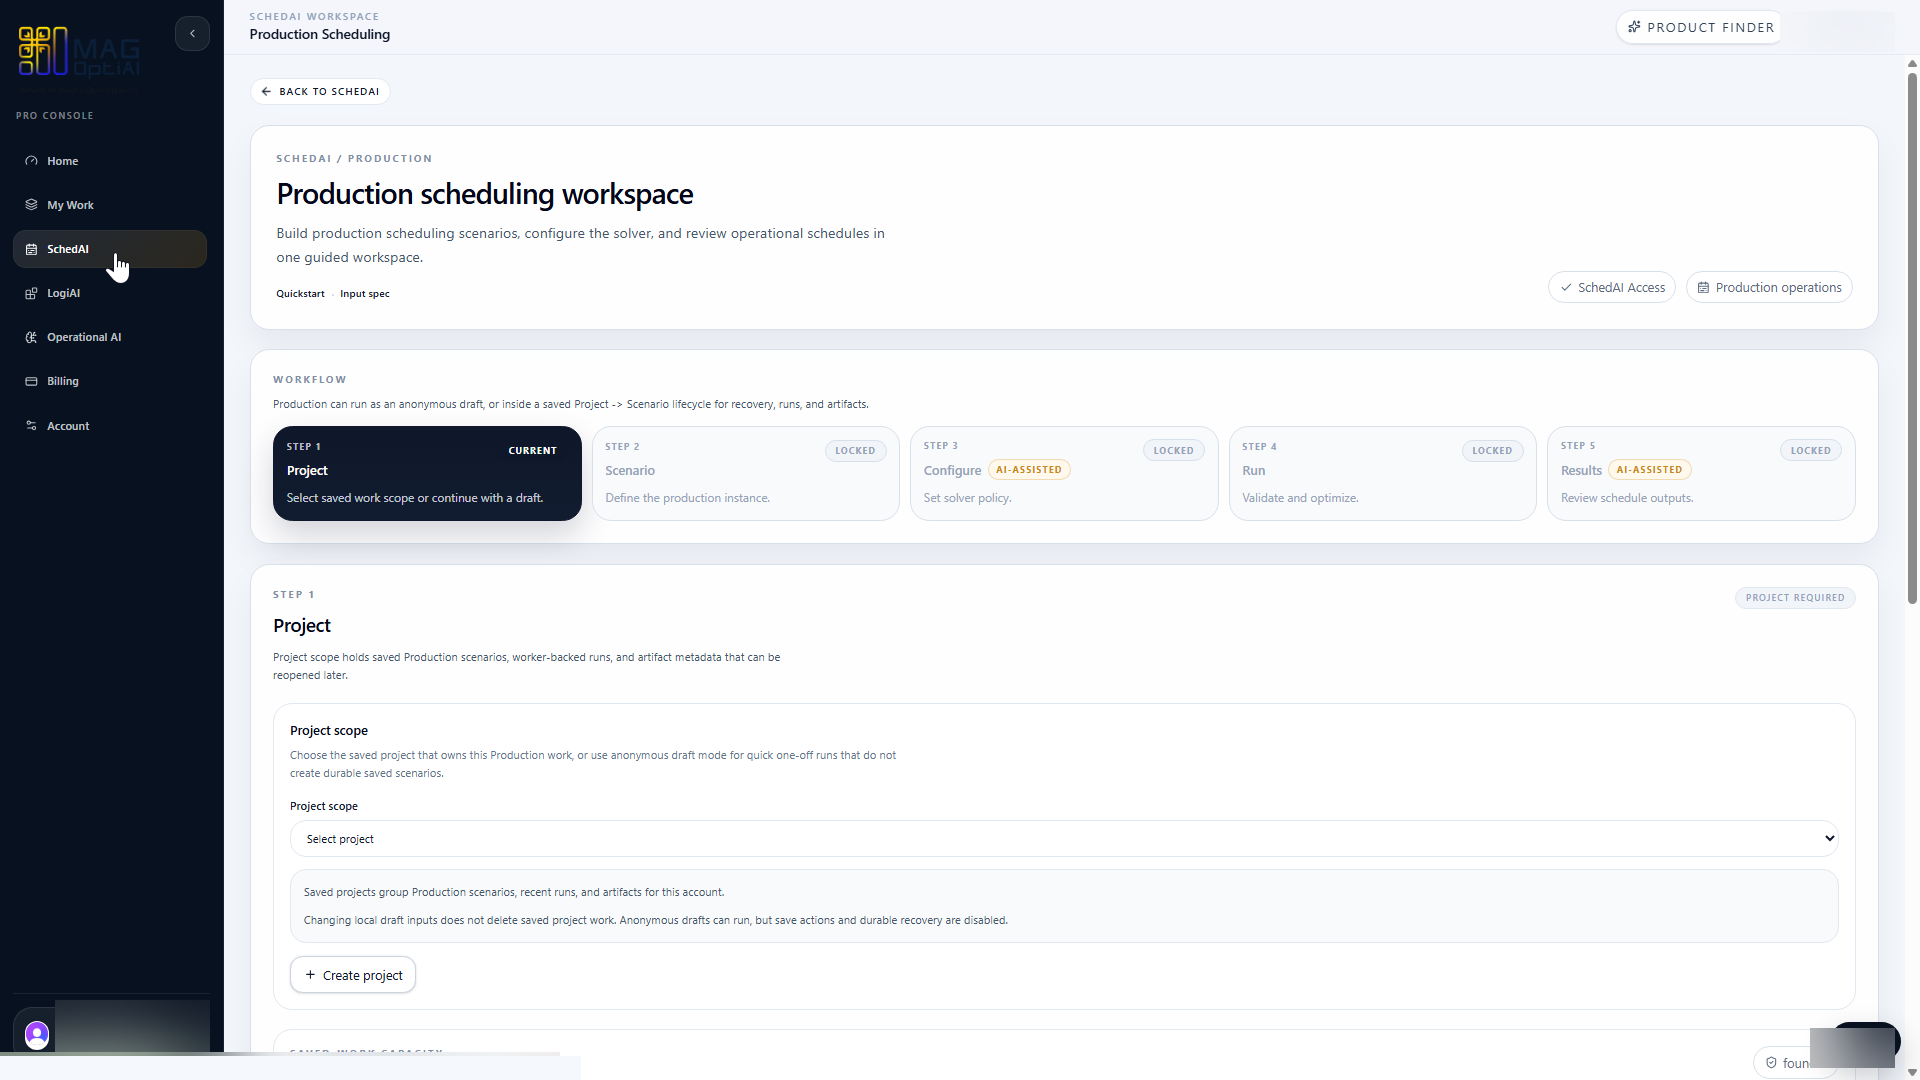
Start inside the product workspace that matches the work you want to create. Project creation begins from the Project step inside the selected workspace.
Project basics How-To
Learn how to start a new project, choose the right workspace, name the project clearly, and continue into the setup steps for your scenario, inputs, runs, and results.
Guide details
Audience
Product users
Time
4 minutes
Category
Project basics
Learn how to start a new project, choose the right workspace, name the project clearly, and continue into the setup steps for your scenario, inputs, runs, and results.
Start a new project in the right workspace
Name the project clearly
Understand the project scope and setup
Continue to scenario and data setup
Keep your work organized and easy to find
Project concepts
Before creating a project, it helps to understand how MAG OptiAI organizes work. A project is the main container for your work, while scenarios are the variants or alternatives you test inside that project.
A project is the top-level container for your work inside a MAG OptiAI workspace. It can contain multiple scenarios, saved runs, inputs, and related results.
Use a project to organize a larger body of related work. Use a scenario to represent a specific setup, assumption, or alternative inside that project.
You are planning a different site, department, or operation; starting a separate scheduling or planning case; or need a clean project history for a new planning problem.
You want to test a different assumption, compare a baseline with an alternative, or keep multiple versions under the same project.
Step by step
Each step gives you the action, the reason it matters, and the visual state to look for before continuing.
Step 1
Start inside the product workspace that matches the work you want to create. Project creation begins from the Project step inside the selected workspace.
Step 2
In the Project step, click Create project to start a new saved project. A project keeps related scenarios, runs, and results together inside the same workspace.
Step 3
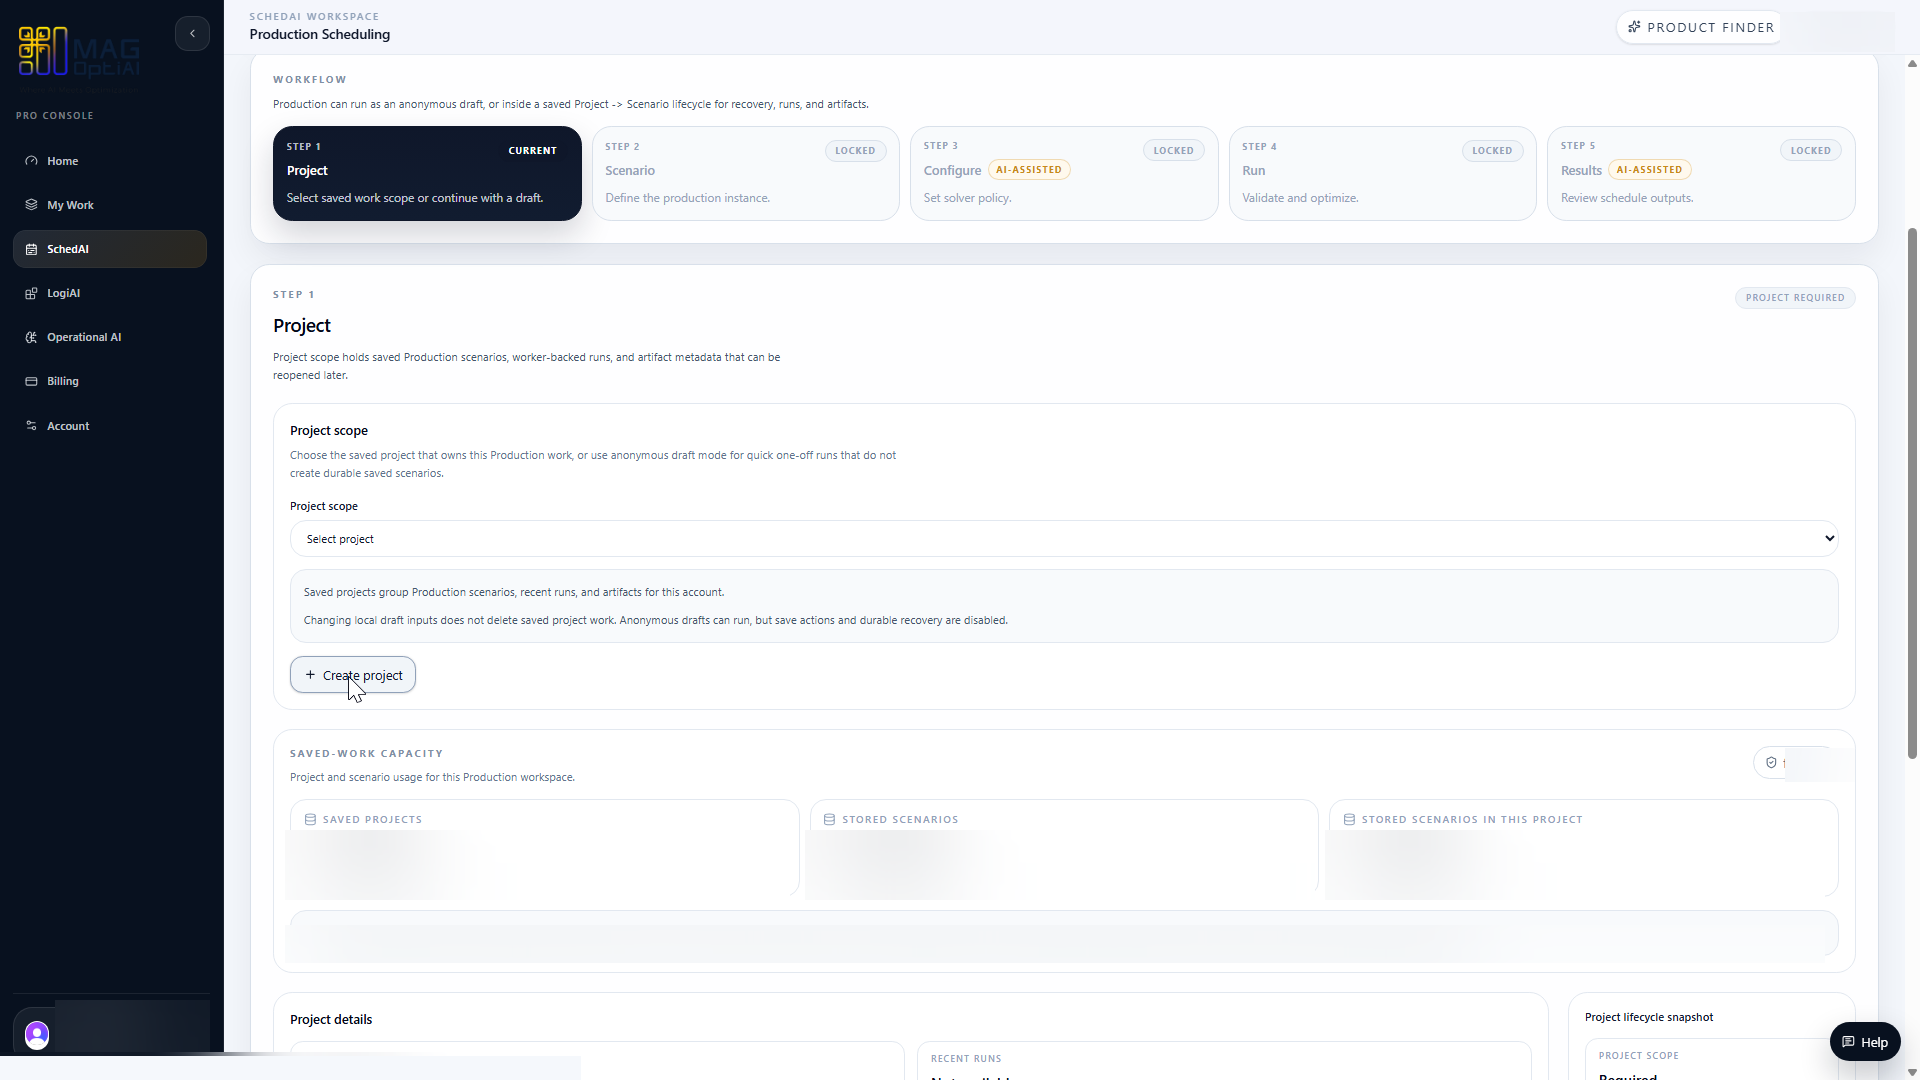
Enter a clear, business-readable project name before creating the project. Use a name that identifies the site, team, planning cycle, or operational case so the project is easy to find later.
Step 4
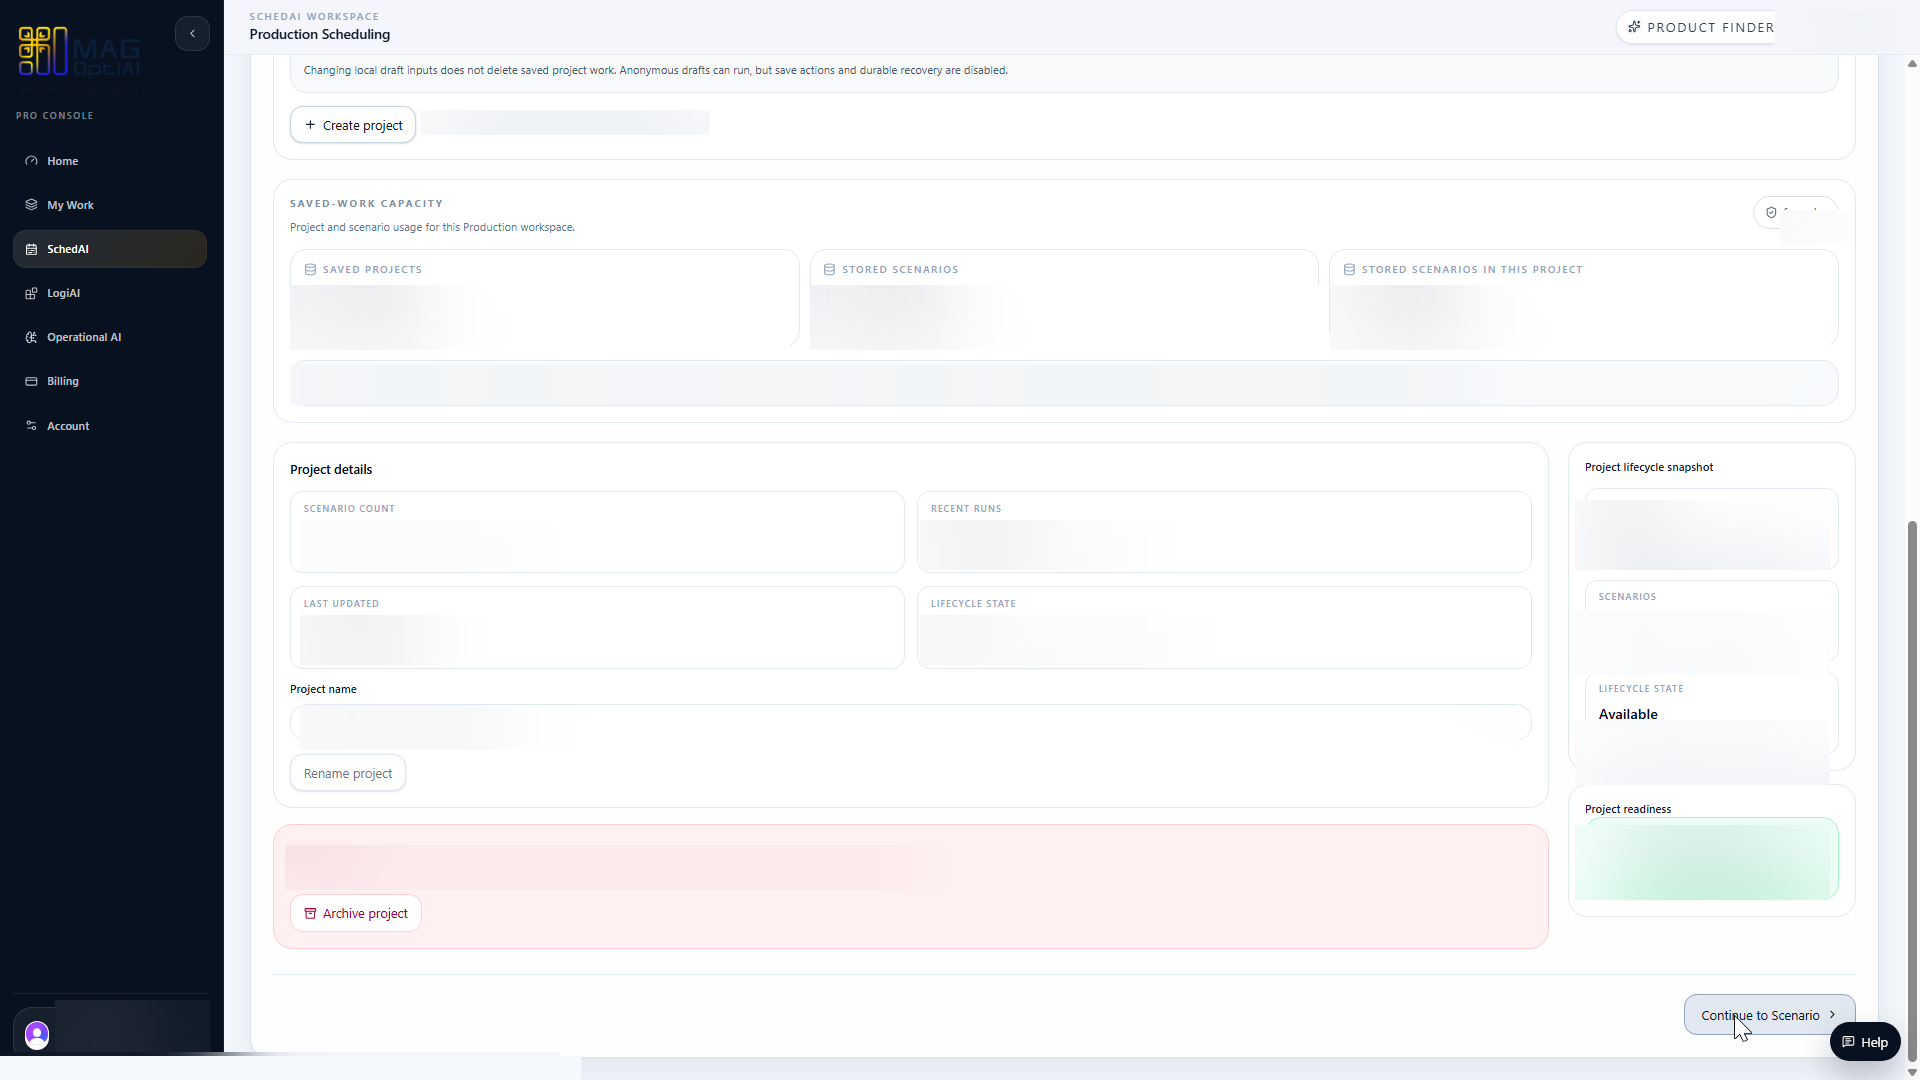
After the project is created, continue to the Scenario step. The project now acts as the saved scope for related scenarios, runs, and results inside the selected workspace.
Tips
Continue with nearby tasks in the same category.
Review existing projects, reopen saved work, rename a project when needed, and archive projects you no longer want to keep active in workspace lists.
Next
Return to the full how-to library or step back to the resource hub when you want a different kind of guide.